
The basic technological process of die casting mold: the liquid metal is firstly poured into the cavity of the die at low or high speed, and the die has a movable cavity surface. It is forged under pressure with the cooling process of the liquid metal, which can not only eliminate the shrinkage and porosity defects of the blank, but also make the internal structure of the blank reach the broken grains in the forged state. Below, we detail the installation of die casting mold and some precautions you should pay attention to.
Steps On How To Install Die Casting Mold
1.The installation position of the mold meets the design requirements, and the distance between the center of the die-casting force and the die-casting machine should be minimized as far as possible, so that the force on the big bar of the die-casting machine is more uniform.
2.Regularly check whether the lifting ring bolts, screw holes and lifting equipment are in good condition to ensure the safety of personnel, equipment and mould during lifting.
3. Regularly check the force error of large bar of die casting machine, and adjust if necessary.
4. Clean the machine mounting surface and die mounting surface thoroughly before installing the die casting mold. Check whether the length of the ejector rod used is appropriate and whether all the ejector rods are of equal length. The number of ejector rods used shall not be less than four and placed in the specified ejector hole.
5. The pressing plate and bolts of the pressing plate should have enough strength and precision to avoid loosening in use. The number of pressing plates should be enough, and it is better to press them on four sides, with no less than two places on each side.
6. The large mold should be equipped with a mold bracket to avoid sinking, dislocation or falling of the mold in use.
7. The mold with larger core pulling or the mold that needs to be reset may also need to be installed separately.
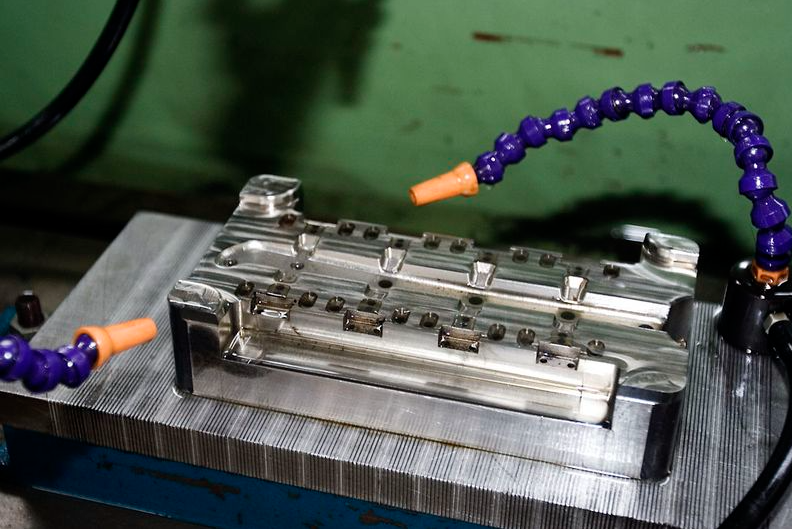
8. The cooling water pipe and installation shall be sealed.
9. Adjustment of the mould after installation. Adjust the clamping tightness. Adjust injection parameters: fast injection speed, injection pressure, boost pressure, slow injection stroke, fast injection stroke, punch follow-up distance, ejection stroke, ejection reset time, etc. After the adjustment, put cotton yarn and other soft materials into the pressure chamber to simulate the whole process of injection twice, and check whether the adjustment is appropriate.
10. Adjust the proper distance from the mold closing to the moving and fixed mold, stop the machine operation, and put it into the mold preheater.
11. The holding furnace is set at the specified temperature, and the scoop with specified capacity is configured.
12. Before production, confirm the integrity of the mold, correctly connect the neutron tubing and control switch circuit of the mold with neutron, confirm that the metal of the conductive part is not exposed, and select the control program before operation.
13. When the die casting mold is opened twice, the front part of the back mold must be opened first, otherwise the core will be damaged.
14. The mould with sliding block above and around the mould must be fixed with proper spring.
15. complex structure should be fully preheated before production.
16. The correctness of the core must be confirmed for the mould with direction requirement or common cavity.
17. Make sure that each cooling water path is unobstructed.
Die Casting Mold Maintenance
Maintenance is the key to extend the life of the die casting mold. Regular mold oiling, cleaning and cleaning can not only prolong the mold life, but also find the potential problems of the mold, and then timely handle and repair.